The Prefills on content enable you and your teams to quickly fill out custom fields and provide manage access on content. They are set up by your Admin(s) so they are ready and easy to apply while creating content.
How It Helps
-
Prefills take the guesswork out of putting the right custom field values on content, so you can be sure your tags are always accurate. It also helps with providing access to the right set of people so that the confidentiality is maintained.
- Some Prefills set up by your Admin won’t have every custom field applied. Make sure you confirm that all applicable tags are applied to the content you are working on. If you are not sure you can @-mention your project lead or Admin in the activity feed.
-
Apply the correct Prefills when you create content and begin with your content tags already filled in.
Note: Do not choose a prefill if you are not sure which one you should apply.
How It Works
If you are creating new content and the selected content type has Prefills configured, you will see an additional drop-down menu to select the prefill.
The prefill will be applied when the content is created, filling out the Custom Fields section and providing the correct Manage Access for you. The pre-filled values can be manually changed later as needed.
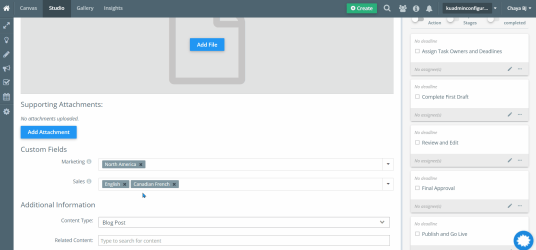
When you are working on content in Studio, the prefill menu is located at the top of the body of content. This menu will include the Prefill options that your Admin has configured for the content type you are working on. When Prefills are set up, a single selection from the Apply Prefills drop-down menu will fill out all custom fields and provides access accurately with one click.
If multiple prefills are created for the same content type, then you can select another prefill from the Apply Prefills drop-down menu. This will replace the already applied prefill. You can also apply Prefills to existing content in Studio.
To learn about how prefills are configured by admin, refer to Custom Field Prefills On Content For Admins.

